# Importing os and pickle module in program import os import pickle # Creating utils for Gmail APIs from googleapiclient.discovery import build from google_auth_oauthlib.flow import InstalledAppFlow from google.auth.transport.requests import Request # Importing libraries for encoding/decoding messages in base64 from base64 import urlsafe_b64decode, urlsafe_b64encode # Importing libraries for dealing with the attachment of MIME types in Gmail from email.mime.text import MIMEText from email.mime.multipart import MIMEMultipart from email.mime.image import MIMEImage from email.mime.audio import MIMEAudio from email.mime.base import MIMEBase from email.mime.multipart import MIMEMultipart from mimetypes import guess_type as guess_mime_type
# Request all access from Gmail APIs and project SCOPES = ['https://mail.google.com/'] OurEmailID = 'OurMail@gmail.com'# giving our Gmail Id
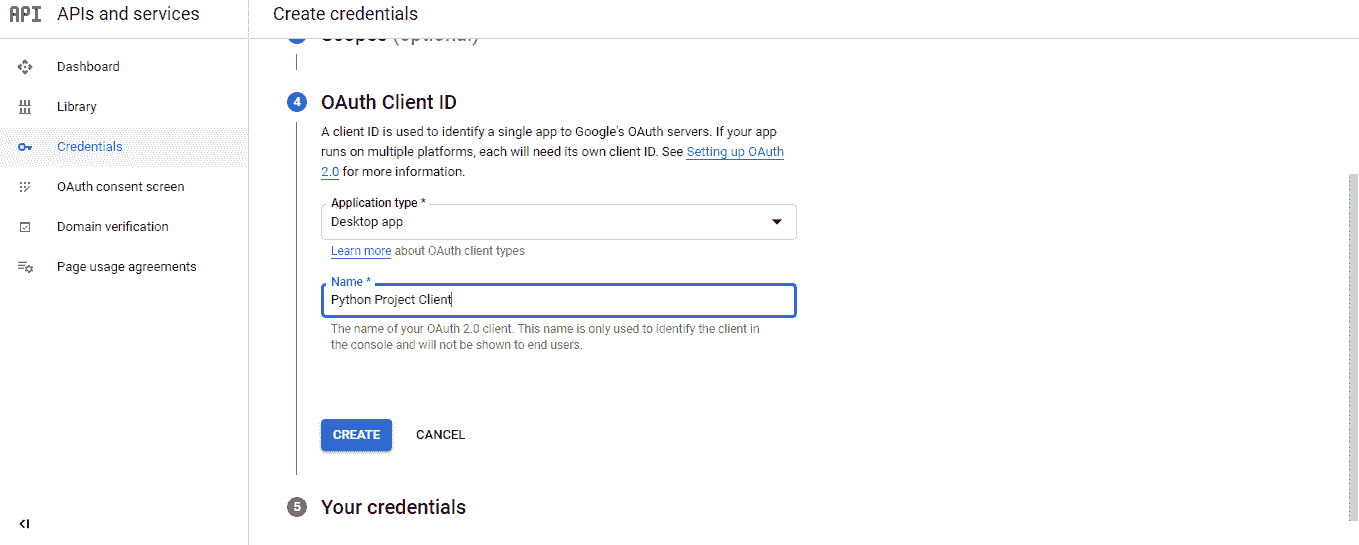
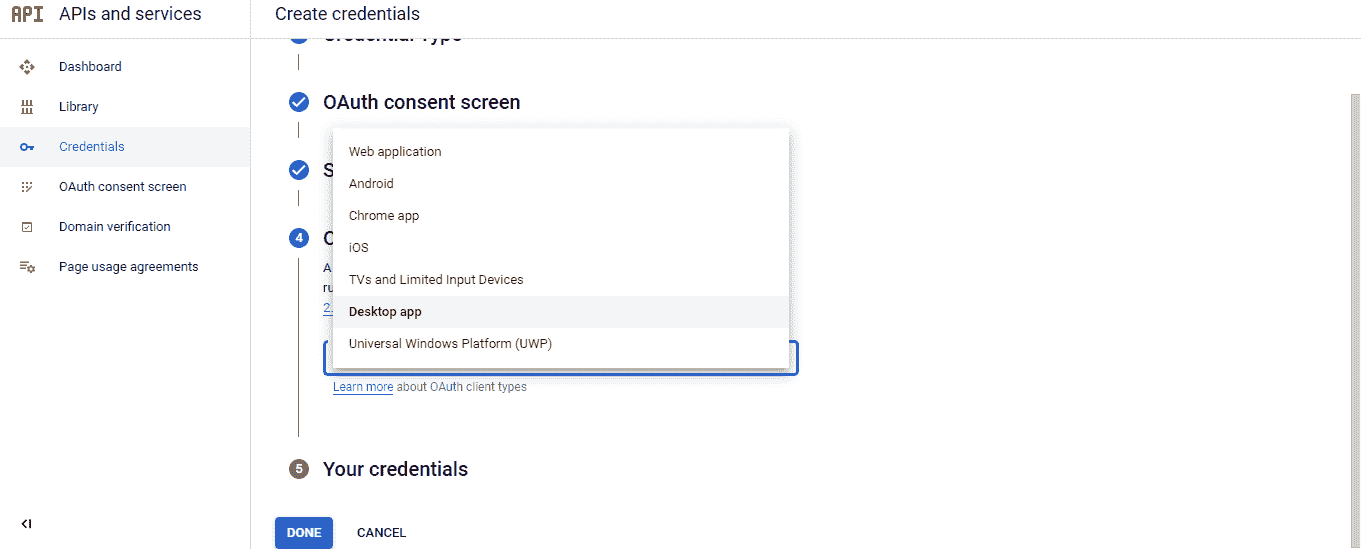
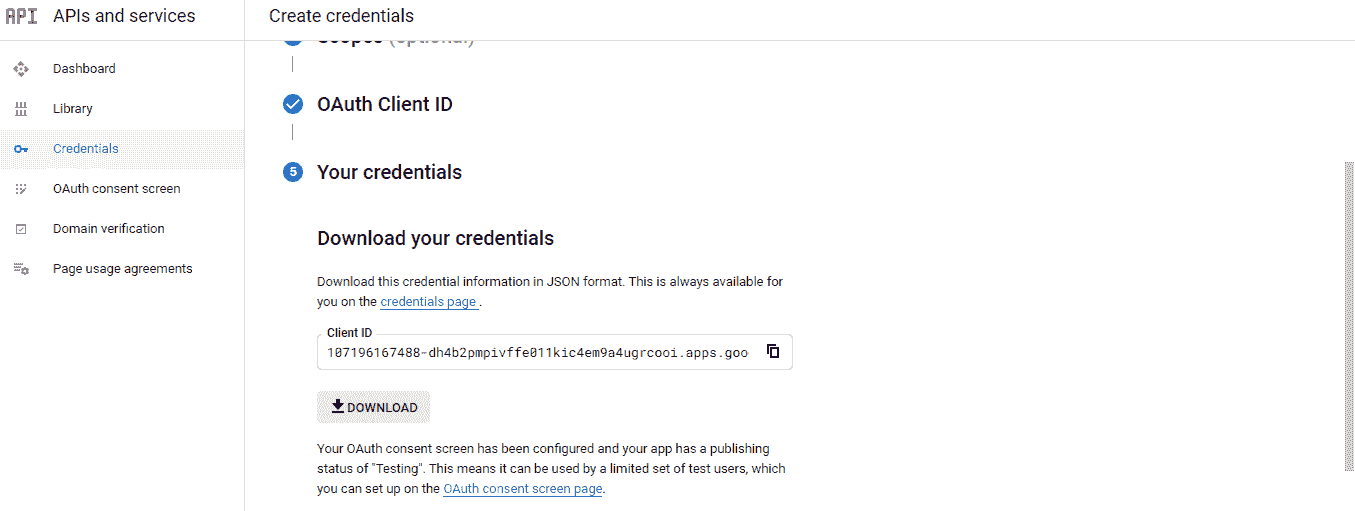
# using a default function to authenticate Gmail APIs defauthenticateGmailAPIs(): creds = None # Authorizing the Gmail APIs with tokens of pickles if os.path.exists("token.pickle"): # using if else statement withopen("token.pickle", "rb") as token: creds = pickle.load(token) # If there are no valid credentials available in device, we will let the user sign in manually ifnot creds ornot creds.valid: if creds and creds.expired and creds.refresh_token: creds.refresh(Request()) else: flow = InstalledAppFlow.from_client_secrets_file('client_secret_107196167488-dh4b2pmpivffe011kic4em9a4ugrcooi.apps.googleusercontent.com.json', SCOPES) # downloaded credential name creds = flow.run_local_server(port=0) # running credentials # Save the credentials for the next run withopen("token.pickle", "wb") as token: pickle.dump(creds, token) return build('Gmail', 'v1', credentials=creds) # using Gmail to authenticate
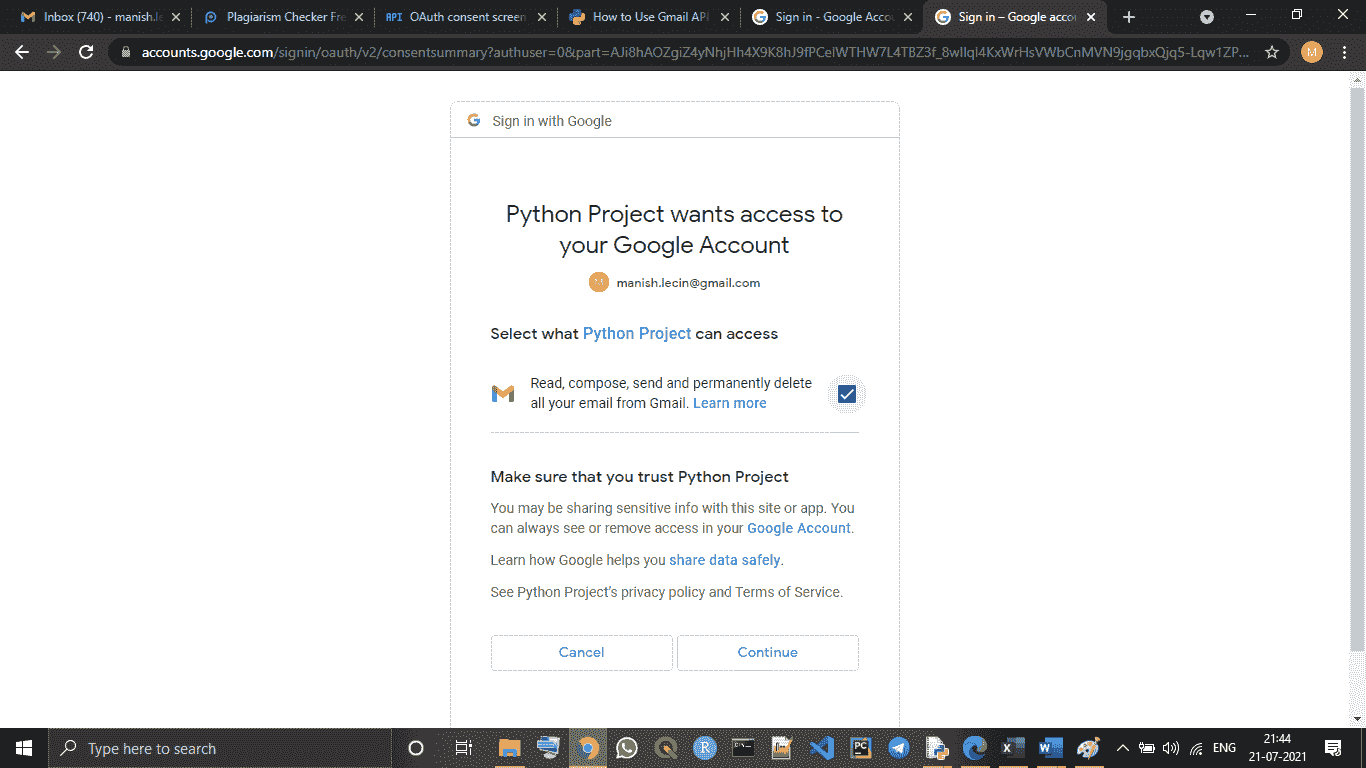
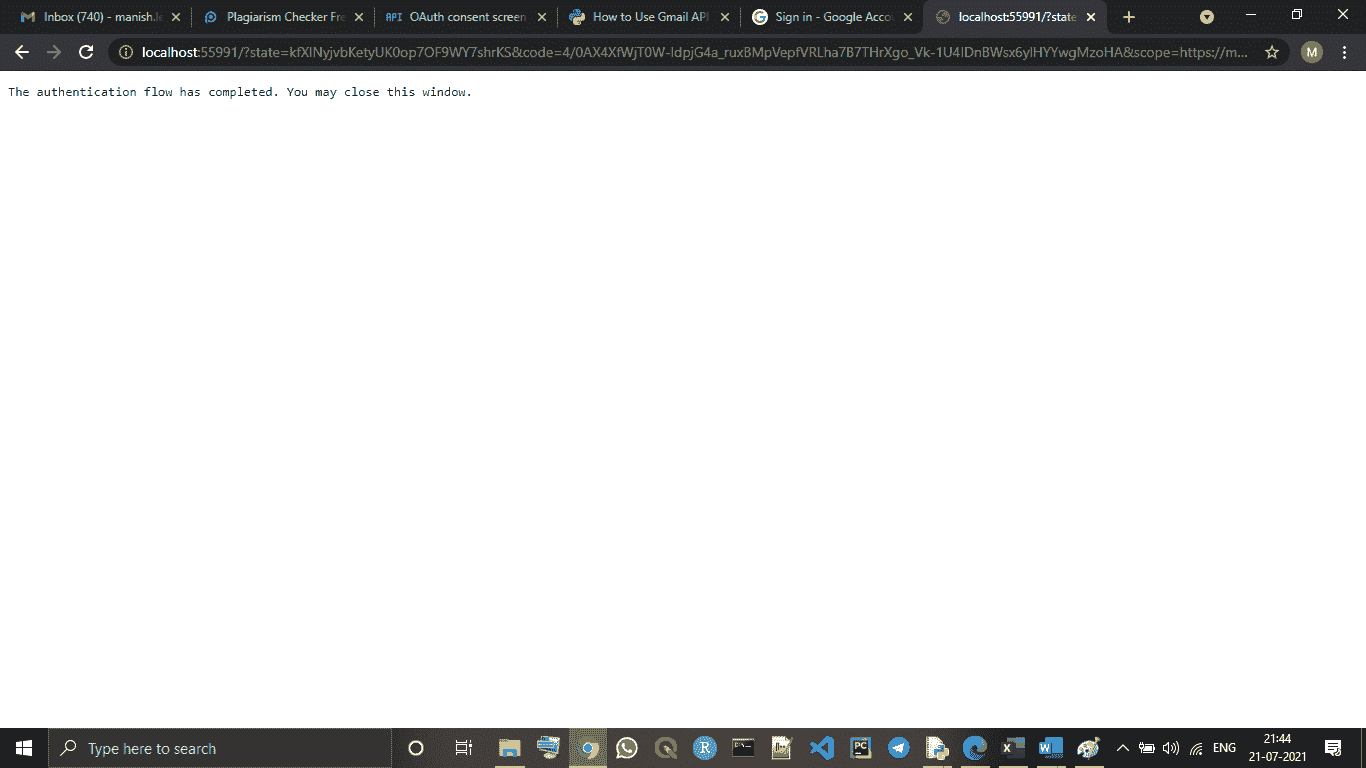
# Get the Gmail API service by calling the function service = authenticateGmailAPIs()
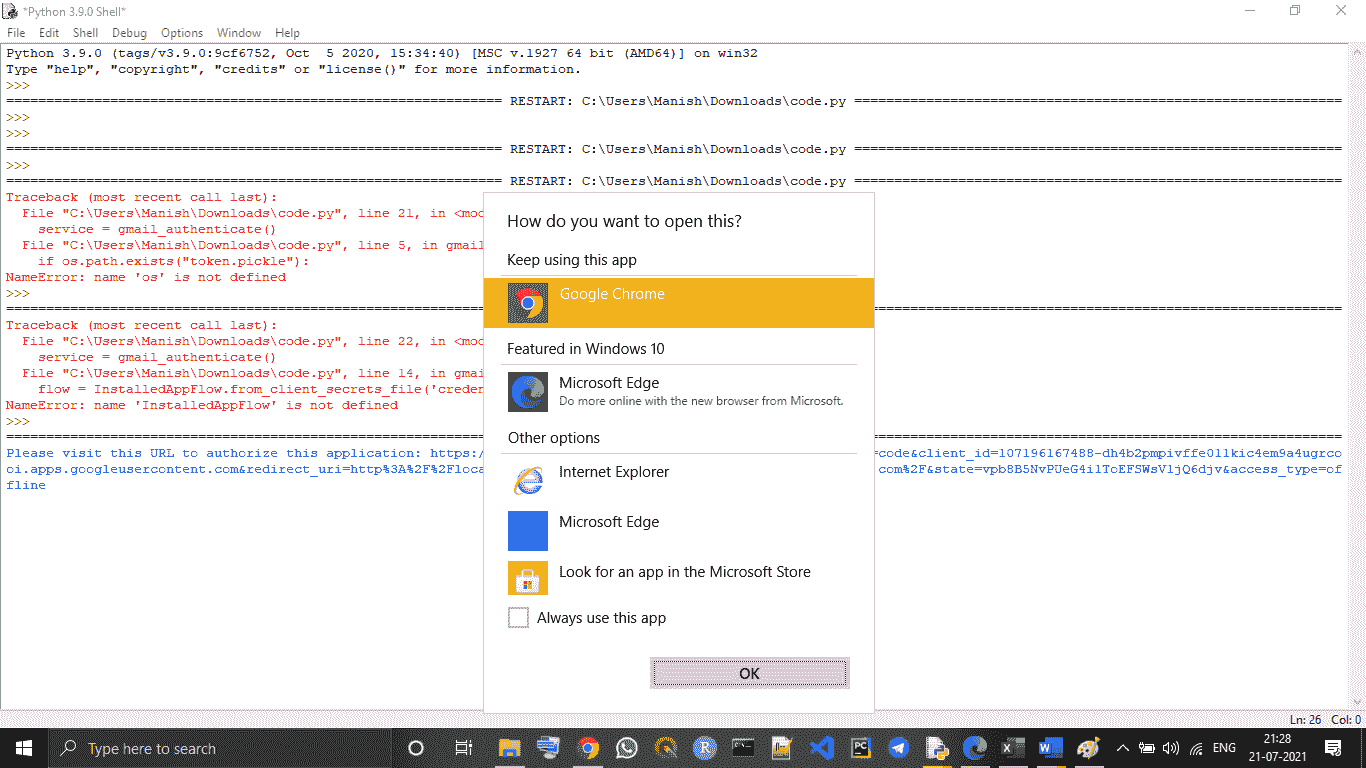
输出:
Please visit this URL to authorize this application: https://accounts.google.com/o/oauth2/auth?response_type=code&client_id=107196167488-dh4b2pmpivffe011kic4em9a4ugrcooi.apps.googleusercontent.com&redirect_uri=http%3A%2F%2Flocalhost%3A55991%2F&scope=https%3A%2F%2Fmail.google.com%2F&state=kfXlNyjvbKetyUK0op7OF9WY7shrKS&access_type=offline
# importing os and pickle module in program import os import pickle # Creating utils for Gmail APIs from googleapiclient.discovery import build from google_auth_oauthlib.flow import InstalledAppFlow from google.auth.transport.requests import Request # Importing libraries for encoding/decoding messages in base64 from base64 import urlsafe_b64decode, urlsafe_b64encode # Importing libraries for dealing with the attachment of MIME types in Gmail from email.mime.text import MIMEText from email.mime.multipart import MIMEMultipart from email.mime.image import MIMEImage from email.mime.audio import MIMEAudio from email.mime.base import MIMEBase from email.mime.multipart import MIMEMultipart from mimetypes import guess_type as guess_mime_type
# Request all access from Gmail APIs and project SCOPES = ['https://mail.google.com/'] # providing the scope for Gmail APIs OurEmailID = 'OurMail@gmail.com'# giving our Gmail Id
# using a default function to authenticate Gmail APIs defauthenticateGmailAPIs(): creds = None # authorizing the Gmail APIs with tokens of pickles if os.path.exists("token.pickle"): # using if else statement withopen("token.pickle", "rb") as token: creds = pickle.load(token) # if there are no valid credentials available in device, we will let the user sign in manually ifnot creds ornot creds.valid: if creds and creds.expired and creds.refresh_token: creds.refresh(Request()) else: flow = InstalledAppFlow.from_client_secrets_file('client_secret_107196167488-dh4b2pmpivffe011kic4em9a4ugrcooi.apps.googleusercontent.com.json', SCOPES) # downloaded credential name creds = flow.run_local_server(port=0) # running credentials # save the credentials for the next run withopen("token.pickle", "wb") as token: pickle.dump(creds, token) return build('gmail', 'v1', credentials=creds) # using Gmail to authenticate
# Get the Gmail API service by calling the function ServicesGA = authenticateGmailAPIs()
# Using a default funnction to add attachments in Mail defAddAttachment(mail, NameofFile): content_type, encoding = guess_mime_type(NameofFile) if content_type isNoneor encoding isnotNone: # defining none file type attachment content_type = 'application/octet-stream' main_type, sub_type = content_type.split('/', 1) if main_type == 'text': # defining text file type attachment fp = open(NameofFile, 'rb') # opening file msg = MIMEText(fp.read().decode(), _subtype = sub_type) fp.close() elif main_type == 'image': # defining image file type attachment fp = open(NameofFile, 'rb') msg = MIMEImage(fp.read(), _subtype = sub_type) fp.close() elif main_type == 'audio': # defining audio file type attachment fp = open(NameofFile, 'rb') msg = MIMEAudio(fp.read(), _subtype = sub_type) # reading file fp.close() else: fp = open(NameofFile, 'rb') msg = MIMEBase(main_type, sub_type) msg.set_payload(fp.read()) fp.close() # closing file NameofFile = os.path.basename(NameofFile) msg.add_header('Content-Disposition', 'attachment', NameofFile = NameofFile) mail.attach(msg) # composing the mail with given attachment
# Creating mail with a default function defCreateMail(RecieverMail, SubofMail, BodyofMail, attachments=[]): # various import content of mail as function's parameter # Using if else to check if there is any attachment in mail or not ifnot attachments: # no attachment is given in the mail mail = MIMEText(BodyofMail) # Body of Mail mail['to'] = RecieverMail # mail ID of Reciever mail['from'] = OurEmailID # our mail ID mail['subject'] = SubofMail # Subject of Mail else: # attachment is given in the mail mail = MIMEMultipart() mail['to'] = RecieverMail mail['from'] = OurEmailID mail['subject'] = SubofMail mail.attach(MIMEText(BodyofMail)) for NameofFile in attachments: AddAttachment(mail, NameofFile) return {'raw': urlsafe_b64encode(mail.as_bytes()).decode()}
# Creating a default function to send a mail defSendMail(ServicesGA, RecieverMail, SubofMail, BodyofMail, attachments=[]): return ServicesGA.users().messages().send( userId = "me", body = CreateMail(RecieverMail, SubofMail, BodyofMail, attachments) ).execute() # Body of the mail with execute() function
# Sending an email by adding important content, i.e., Reciever's mail, Subject, Body, etc. SendMail(ServicesGA, "Reciever@gmail.com", "Python Project i.e., This is the subject of Mail we are send/img!", "Now, this is the body of the email we are writing and we can add only written text here!", ["test.txt", "client_secret_107196167488-dh4b2pmpivffe011kic4em9a4ugrcooi.apps.googleusercontent.com.json"]) # calling out default SendMail() function


 wechat
 alipay